How to Freeze Action in the Snow
How to Freeze Action in the Snow
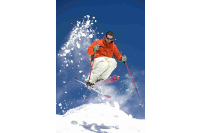
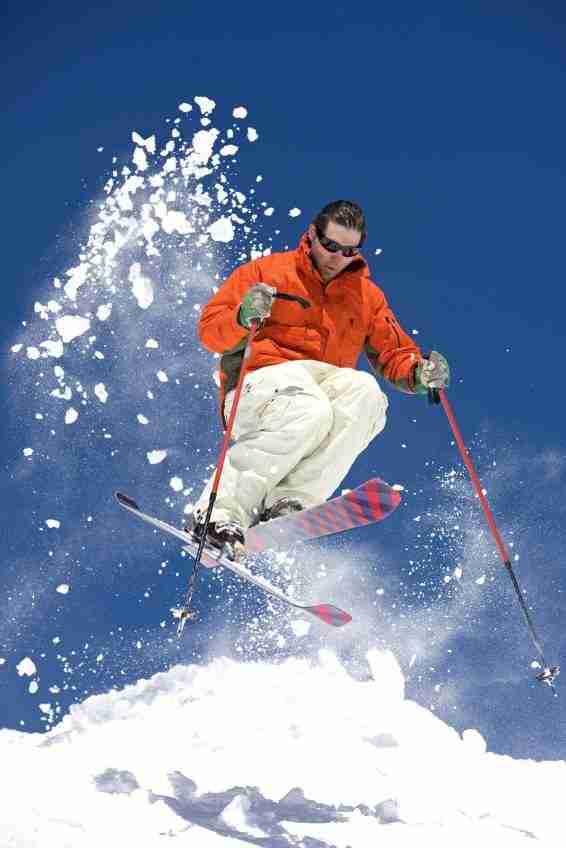
If you are planning a ski trip this winter there may be some photographic items to consider before you head off. The snow can be blinding and with so much white your cameras automatic modes can be easily tricked causing under exposed photos. After reading this you will hopefully be able to capture a shot of your partner showing off, guaranteed to give them a big head and bragging rights at the next dinner party.
1 x DSLR Camera
1 x Telephoto Lens (100mm and above focal length)
1 x Lens Hood to fit lens (Used to reduce flare when shooting outdoors particularly when reflections from snow and ice are so pronounced)
1 x Spare Battery (cold weather makes the camera work harder therefore uses more battery power)
1 x Circular Polarizing Filter
1 x Small Camera Bag and / or Back Pack (when your camera is not in use its best to keep in away from the snow and the cold).
1 pair of thermal photo gloves (these allow you to still be able to control the camera while keeping your fingers toasty)
Method:
1. Attach your telephoto lens to your camera and screw in the circular polarising filter prior to connecting the lens hood.
2. Place your gear and spare battery in a small bag or backpack before heading out. Getting your equipment ready before getting to your location lowers the risk of damage from dropping it, remember your hands will be numb or you will have gloves on.
3. Once out on the slopes keep an eye out for a location with a rise or jump where plenty of action happens and you are able to get into a safe position with a good perspective, about 45 degrees to the subject is ideal. Ski fields can be quite a dangerous place for a stationary person so make sure you are not in a high traffic area or a blind spot on the other side of a ridge.
4. Get your gear out and make sure you place the camera strap over your neck, prevention is better than cure. Now set your motor drive to high (frames per second) this will give you a better chance of capturing an action shot.
5. Set the auto focus to AI servo on Canon or continuous for Nikon. This activates an auto focus system that will track moving objects on the set focus point when the shutter is half pressed.This allows you to get a series of images that are all in focus. Note: You will not get this control on a point and shoot.
6. Now you will need to get your exposure right prior to taking the shot and we will need to be shooting in manual mode. Manual mode is best used in the snow as the camera intelligence struggles with the amount of white in an image and tries to counteract it, this results in an image which is too dark. Don’t be scared off by manual it can be quite simple, start by setting your aperture to F5.6 and play with your shutter speeds starting at 1/1000 and setting the ISO to 100 or 200. Now tip your camera vertically and turn the polarising filter until you see the sky darken through the viewfinder and take a shot of the next skier to go over the jump. If the image is too bright change shutter speed to 1/2000 (double) or if to dark change it to 1/500 (half) and repeat this step until you have an exposure you are happy with.
7. Once your exposure is correct you are ready to compose the shot. Try to predict where the action is going to take place and set yourself, if you kneel down and rest your leading elbow on your leg this will create a brace allowing you to hold your composition. If you are unable to see the skiers before they go over the mound you may need to listen or wait until you see their head before you start to focus. Now just before they hit the jump start shooting. Remember to use a burst of about 5-10 frames. You'll probably only get one go at this as it is unlikely the skier will want to get on a lift and go back up and do it again while you wait there for them. So practice on as many skiers as possible before hand and work out some way to communicate with each other (mobile phone) before your subject chooses to jump.
8. Sports photography can be difficult; it’s all about the timing, composition and the crop. Make sure you zoom in nice and tight to capture expressions and keep your horizontals straight. The cropping can be doe later at home.
Note: Shoot vertically for more impact when capturing individuals in action. A battery grip will make this easier as they have a vertical shutter button, will also allow the addition of an extra battery and make the camera easier to hold with gloves on.
9. Shoot like no one is watching™


